How to Configure / Add Office 365 Email to Thunderbird Account?
Overview: Are you facing issues while working on your Office 365 account? Do you want to add Office 365 to Thunderbird? If your answer is yes, then keep reading this blog, here you will get the complete step by step solution that allows you to configure your account to Thunderbird?
Office 365 is one of the well-known Cloud Based services that has been used by most organizations for managing their business data. Users use O365 to manage the entire business infrastructure data in a proper manner. There are reasons why users switch from Office 365 to Thunderbird, all because Office 365 costs more and the other thing is that maybe users want to save their data as a backup in the Thunderbird email client.
If we talk about Thunderbird, then it is a well-known email client that can be easily utilized by both people as well as professionals use. It is free to use and has the ability to configure multiple accounts in itself.
Let us discuss the complete solution how can a user add their Office 365 data to Thunderbird? Other is, how can a user configure Office 365 in Thunderbird? Let us start discussing the process.
User Query
“I am using Office 365 for last year to manage my small business, but after using it for 1 year, I realized that it is costing a lot of expenses. And, after researching a lot, I am thinking to add my data to a particular email client such as Thunderbird. I had also tried to configure my Office 365 in Thunderbird, but the main issue here arises is that the previous data didn’t be able to retrieve.
Is there any solution present that can help me to add my Office 365 account in Thunderbird?”
Configure Office 365 Account in Thunderbird Manually
- Open Thunderbird in your system.
- Click on the Email option mentioned there.
- Enter your name and login credentials for your Office 365 account.
- Then, click on Configure manually.
Now, you need to enter the configuration settings for POP/IMAP Configuration.
For POP settings:
For IMAP settings:
After that, click on Done, and the configuration will be done instantly.
Hence, just by performing these steps, you can easily configure Office 365 to Thunderbird easily.
How to Add Office 365 to Thunderbird? – Expert’s Solution
Here, we suggest you use RecoveryTools Office 365 Backup Tool. The tool is one of the highly professional utilities that allow users to add their entire data from Office 365 to a Thunderbird email client.
Moreover, it is one of the highly professional utilities that has been developed with advanced algorithms. The mentioned software works on the customization and the needs of the users. Also, it is properly tested before its launch by most technical experts.
The above-mentioned configuration method is helpful but sometimes, it happens that after configuration the previous data will not be loaded. So, for adding that data, you need to use the mentioned utility to take the backup of your Office 365 account and upload that into your Thunderbird account.
So, what you need to do, is first configure your account in Thunderbird. Secondly, you need to take backups from your Office 365 account data and import them into Thunderbird.
Download from Here:
Download for Windows Download for Mac
Note: You can use the demo edition of this application to export only a few emails. For more, you need to purchase the software key.
Steps to Add Office 365 Email to Thunderbird
- Launch the software on your system.
- Enter your Microsoft 365 account details.
- Choose the required email folders from the list.
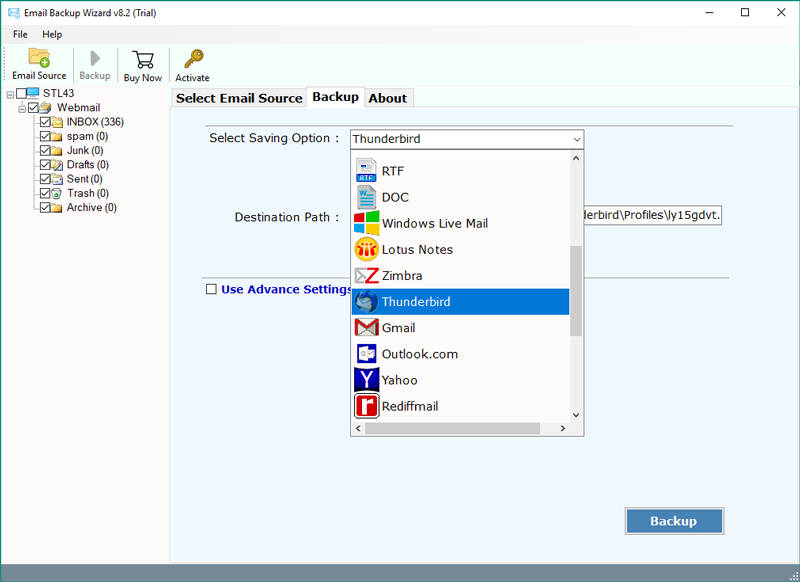
- Select the Thunderbird option in the saving list.
- Click on the next to start adding the emails.
Also Read:
How to Migrate Emails From Office 365 to Thunderbird?
- Launch the mentioned software on your Windows and Mac computers.
- Enter your Office 365 account credentials in the user interface panel. You can also choose the “I am Admin” option for adding Office 365 emails.
- Choose the required email folders from the list that you want to add.
- Click on the saving option list and select the Thunderbird option in the list.
- Note: You can also select the MBOX option if you don’t have a Thunderbird email client on your computer.
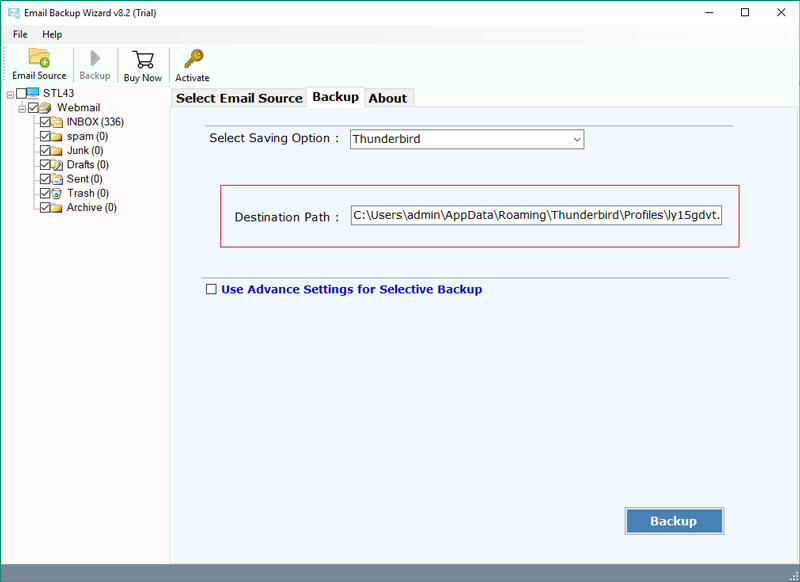
- Choose the destination location path to save resultant data easily.
- You can also choose the additional filter options for the selective email migration.
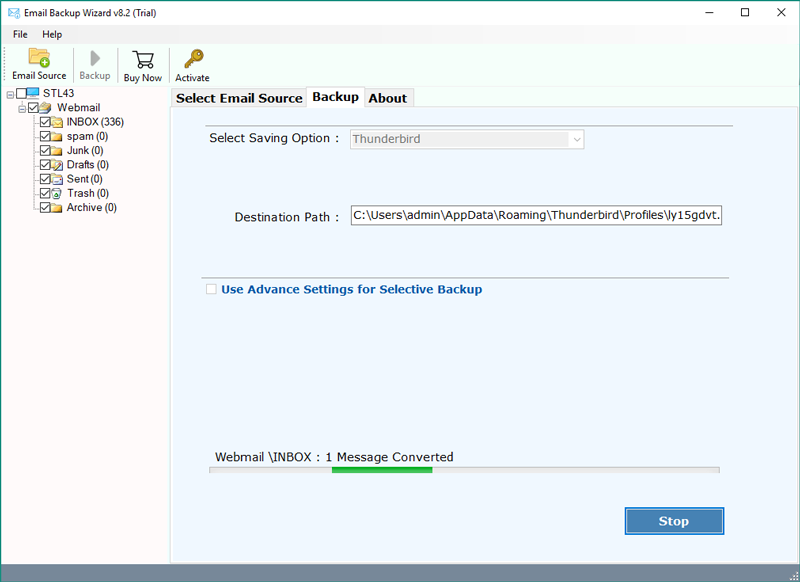
- Click on the next to start adding the data.
- When the process is completed, press the ok button key.
Features & Its Benefits of Office 365 to Thunderbird Tool
- The software comes with a 100% clean and secure interface which never stores your account credentials in the caches.
- One can easily add multiple Office 365 mailboxes to Thunderbird using the “I am Admin” option.
- This amazing utility supports to the addition of all mailbox emails with included attachments to Thunderbird with all types and formats.
- The utility will preserve all of the internal system folder structure and on-disk hierarchy when adding Office 365 emails.
- The program is compatible with all latest versions of Microsoft Windows & Mac OS PCs such as Windows 11, 10, 8.1, 8, Server 2019, 2016, 2012, 2008, And Mac OS X editions such as 10.15, 10.14, 10.13, etc.
- You can also choose the additional filter options for the selective email adding from Office 365 to Thunderbird.
- The software provides a simple and consistent user interface panel for all types of users.
Conclusion
In the above article, we have described the complete process to add Office 365 to the Thunderbird account. Moreover, it is possible for users to easily configure their account first and if they feel that there is some loss of data or previous data didn’t be retrieved, so they can easily use the tool to add all the mailbox items. Just continue, and for more information, connect with us.


