Outlook Shared Mailbox Not Updating Automatically: Fixed Manually


If your Outlook shared mailbox not updating automatically and you also want to fix this issue and don’t know the right way, then don’t worry and read the complete article. Here we have tried to resolve the “shared mailbox is not updating in Outlook” error using the top 6 methods without losing any information.
Before starting the topic, let’s understand the basics of Outlook shared mailbox. It’s a unique Outlook mailbox, which can be accessed by multiple users to send and receive emails mainly used by large organizations and companies.
It gives permission access to all mail and calendar details to all users so that they can view and analyze the schedules, tasks, meetings, etc.
It is mainly used to communicate with users or any public platform so that multiple employees can reply and manage the queries. Only the administrator can add members in shared members. There are two types of mailboxes: user and shared and if there is an issue with connected OST files, then you will face “Outlook shared mailbox not updating automatically”.
For a better understanding of the issue with your connected OST files, check out the reasons given in the upcoming paragraph.
Why is My Shared Mailbox Not Updating in Outlook Automatically?
Your Outlook shared mailbox not updating automatically when your connected OST file has increased the size. Due to oversize issues, users will face integrity and synchronization issues as well. However, it is not required that this is the main reason, more other reasons cause the “shared mailbox is not updating in Outlook” issue.
- For syncing your data, an internet connection is required. So, make sure you are using strong and stable internet connections while connecting with your mailbox.
- Also, the wrong sync settings of Outlook’s shared mailbox can cause this error. So also verify all the settings of the mailbox.
- If your administrator doesn’t give you proper and correct access, then your Outlook shared mailbox not updating automatically. Users should have “Folder visible” permission.
- OST file has a major drawback in that it gets corrupt and damaged very quicky. So also make sure that your file is not corrupted, disconnected, or inaccessible OST files.
- If your data file is oversized, then try to remove extra and unwanted data from the mailbox for more space.
Outlook Shared Mailbox Not Updating Automatically: Fixed Manually
Here are the top 6 methods to resolve your problem. All methods are manually performed. So read all the steps carefully with restrictions and then choose the best way according to your choice.
#1: Verify Server Status
Checking server or network status is a very basic thing to verify. Sometimes users lose their data just without knowing whether connections are working or not and directly following the wrong methods.
So, it happens when the Exchange server goes down for maintenance or scheduled backups and due to any other reason, so this causes the syncing issue with your shared mailbox. Also, a bad or unstable network connection can be a reason for the “Outlook shared mailbox not updating automatically” error.
For network connection, restart the Wi-Fi router or try to reconnect with your connection. And verify whether your Outlook web app (OWA) is working or not. If you are capable of logging into your OWA app, it means your server is working perfectly and your system has some problem with your shared mailbox syncing issue.
#2: Fix “Shared Mailbox is Not Updating in Outlook” using Auto Sync
- Launch Outlook Windows.
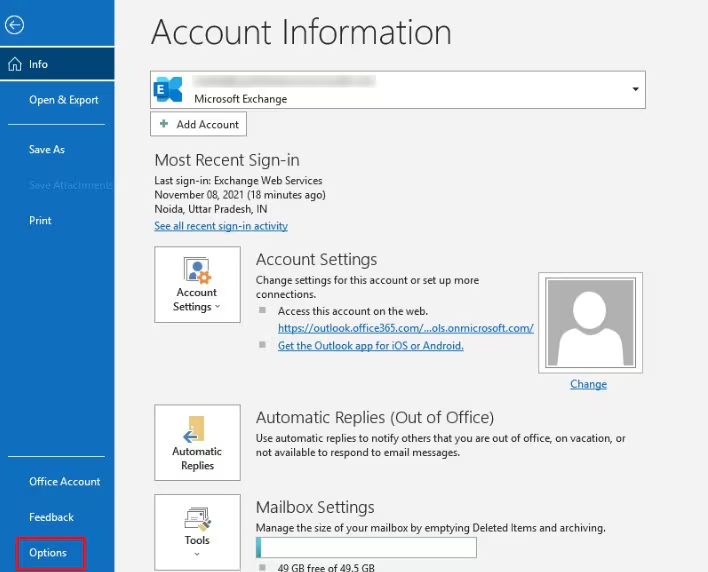
- Go to the “File” tab to choose “Options”.

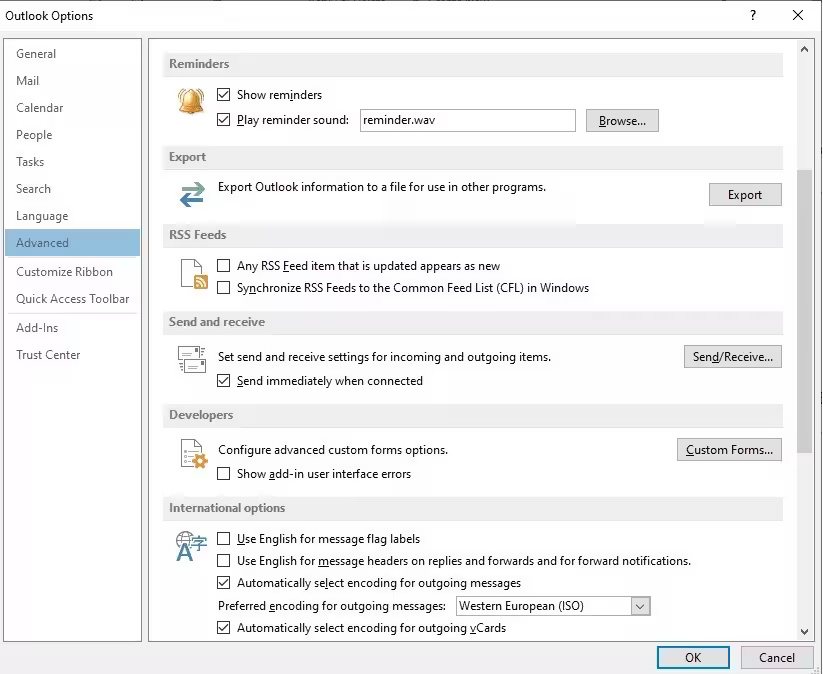
- Select the “Advanced” option from the list.
- Enable the “Send Immediately When Connected” option.

- After that, select the “Send/Receive” button.
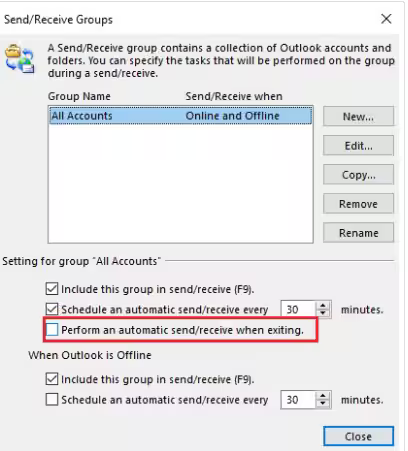
- Check the “Send/Receive Automatically When Exiting” option.

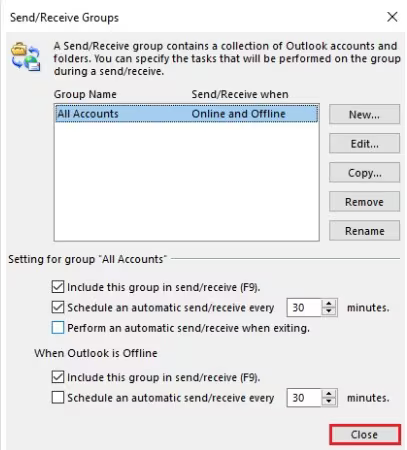
- Lastly, hit on the “Close” option.

- Now restart your Outlook account to check whether your “Outlook shared mailbox not updating automatically” is resolved or not.
#3: Try to Synchronize Shared Mailbox Manually
- Open your Outlook account.
- Choose the “Send/Receive” tab.
- Hit on the “Update Folder” option.
- This step will sync your user and shared mailbox with the exchange server.
#4: Try to Reconnect with the Shared Mailbox
This is another trick to resolve the “shared mailbox is not updating in Outlook” issue by reconnecting your Outlook shared mailbox.
Your Outlook application must be closed while following the given steps:
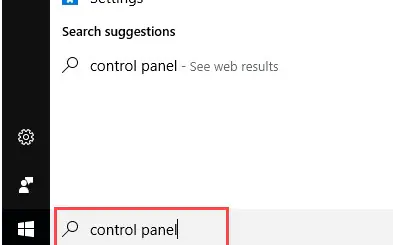
- Launch your “Control Panel” using “Run”.

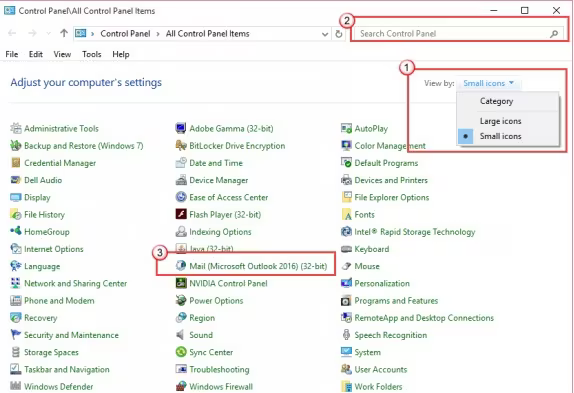
- Select the “Mail” option from the list.

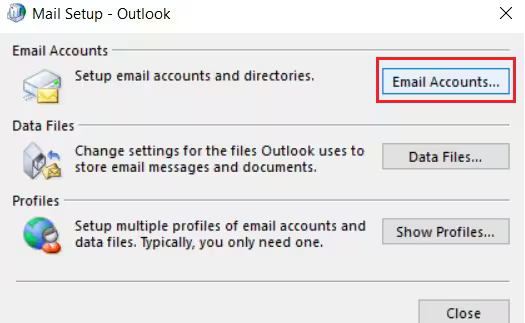
- Choose the “Email Accounts” option.

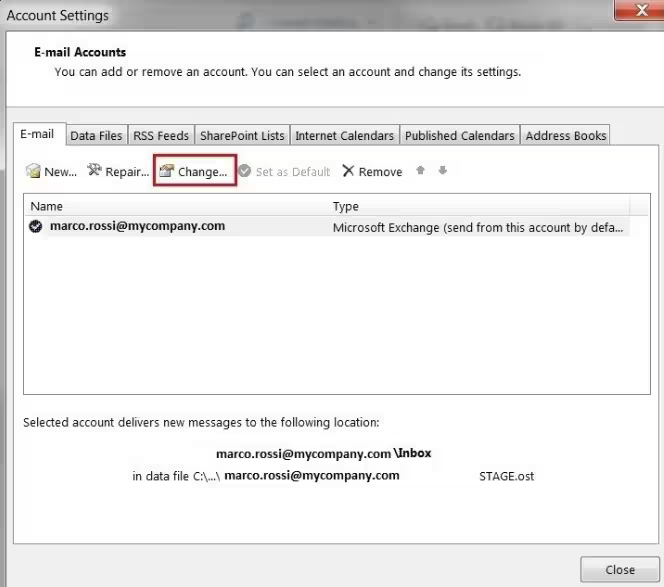
- Select the “Outlook profile” and hit the “Change” button.

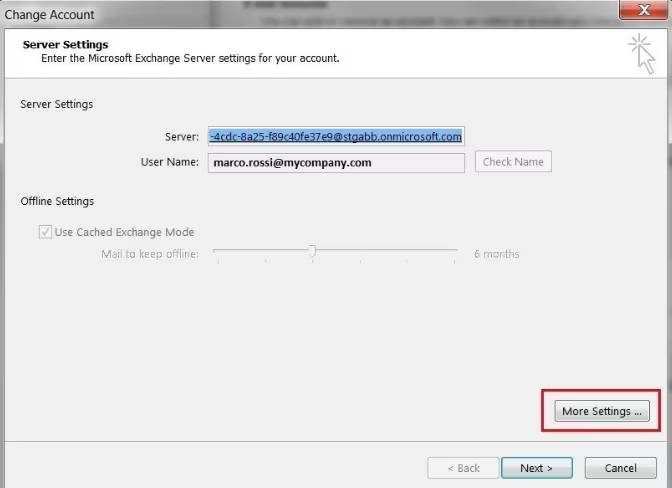
- Select the “More Settings” button.

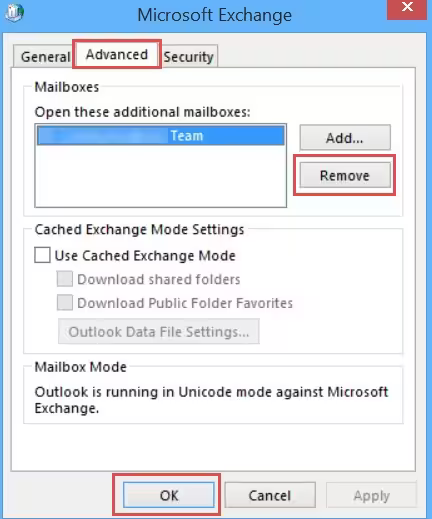
- Choose your shared mailbox from the list and hit on the “Remove” >> “OK” button.

Now again connect your mailbox by following similar steps, in the 6th step choose the Add button from the Advanced tab to fix the “Outlook shared mailbox not updating automatically” issue.
#5: Try to Turn-Off Download Shared Folders Caching
- Start your desktop Outlook account.
- Click on the “File” tab from the top.
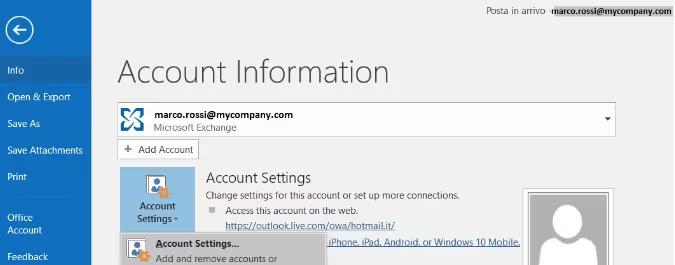
- Select the “Account Setting” >> “Account Settings” from the “Info” tab.

- Hit on the “Settings” from the “Data Files” tab.
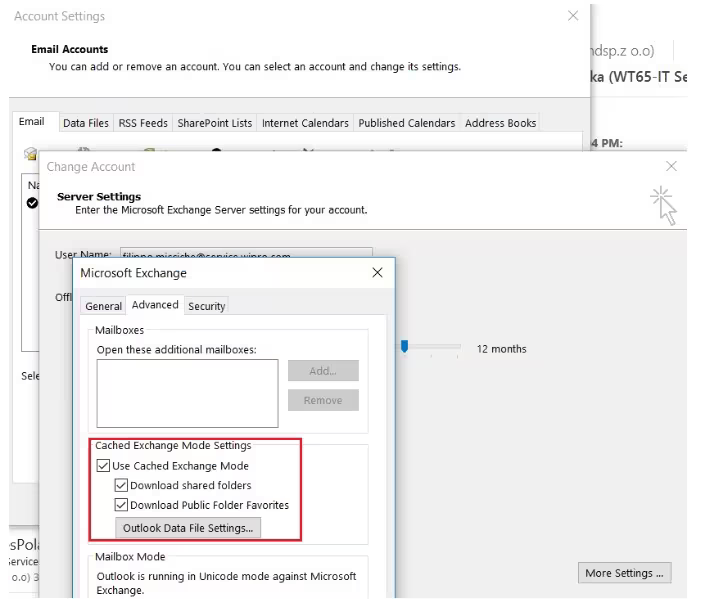
- Select the “Advanced” tab and disable the “Download Shared Folder” box.
- Lastly, hit on the “Apply” and then “OK” button.

#6: Fix Outlook Shared Mailbox Not Updating by Creating New OST File
- Again, launch your Outlook account.
- Select the “File” tab from the top.
- Choose “Account Settings” >> “Account Settings” box.

- Go to the “Data Files” tab and choose your OST file.
- Click on the “Open File Location” icon and create a backup of your *.ost file.
- You will see your OST file, “Delete” it, and close your Outlook account.


Restart your Outlook and check whether your “shared mailbox is not updating in Outlook” error is fixed or not. And if not, then there is no other way to fix it. Now you have to export all your important data from the OST file to a healthy format for future safety.
And for this, you have to take help from an expert solution. We have discussed an amazing solution in the upcoming paragraph.
Solve Another Issue: How to Fix ‘Outlook Not Receiving Emails but Can Send’ Error?
Alternate Solution to Fix “Outlook Shared Mailbox Not Syncing Between Users”
RecoveryTools OST to PST Converter for Mac & Windows machines is the perfect and accurate solution to fix this error. It doesn’t fix your error, but it helps you to extract your data from your OST file into a healthy format like PST. So that you can access your data somewhere else without losing your information.
We are suggesting this solution because in case your OST file is corrupted and inaccessible this expert tool will easily convert it without any restrictions. We have mentioned short working steps with basic features for better understanding.
Why Only This Software?
- This software supports all types of OST files including corrupted, damaged, inaccessible, or orphan files.
- Allow users to convert any size of OST file into PST format with preserved email components and folder structure.
- It gives users 100% safe and secure results and doesn’t save your data within the software’s environment.
- Also, there is no need to install any extra tool like Outlook on your system, because it’s an independent and standalone solution.
How to Fix “Shared Mailbox is Not Updating in Outlook”?
You can save your data by converting your file to PST format. The steps are mentioned below:
- Step 1: Install and start the solution.
- Step 2: Upload your OST data file.
- Step 3: Check the needed data to export.
- Step 4: Choose the saving type in PST format.
- Step 5: Check the filters and browse the path.
- Step 6: Hit the “Convert” button to get rid of this error.
Final Thought
Here we have solved the error; how to fix Outlook shared mailbox not updating automatically on your Windows. We have mentioned the top 6 manual tricks to resolve it, if after using them still your “shared mailbox is not updating in Outlook” is not solved, then you should save your data from the OST file by converting it into another format like PST. So that you can easily access your data on your Outlook account without losing any information. We have tried our best to provide complete details, now it’s up to you, which method you choose.